Managing Locations
Create a location model that reflects physical operations and availability rules.
Before You Start
Section titled “Before You Start”- You know your storage hierarchy (warehouse, aisle, shelf, bin).
- You know which locations should be nettable.
-
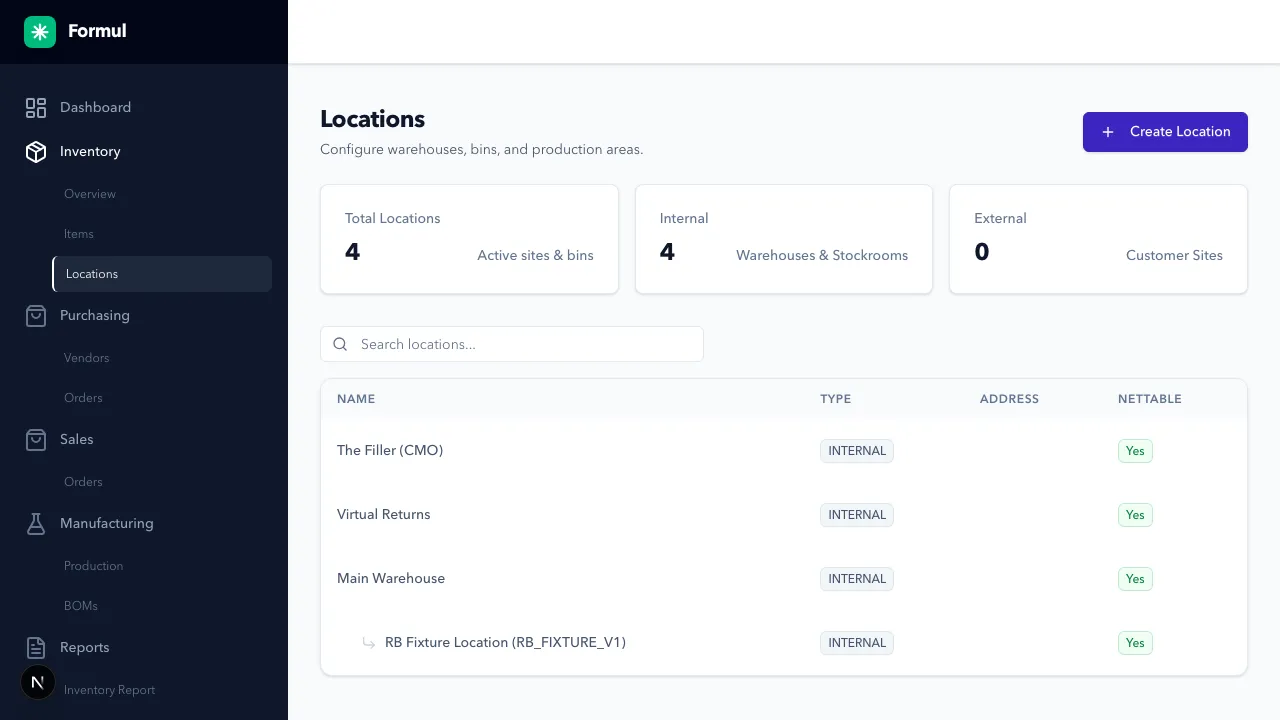
Navigate to Inventory > Locations.
-
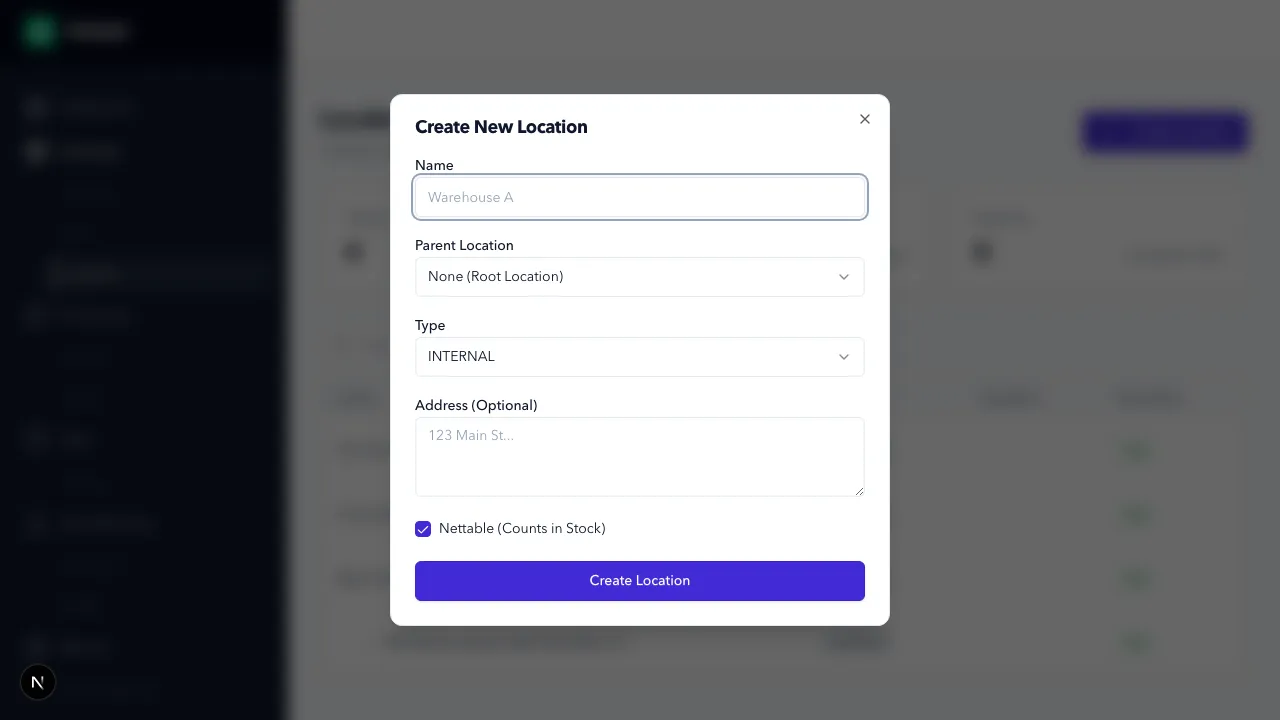
Click Create Location.
-
Enter location fields:
- Name
- Parent (optional)
- Type (
INTERNAL,VENDOR,CUSTOMER,TRANSIT) - Nettable toggle
-
Save and verify hierarchy and Nettable value in the location list.
-
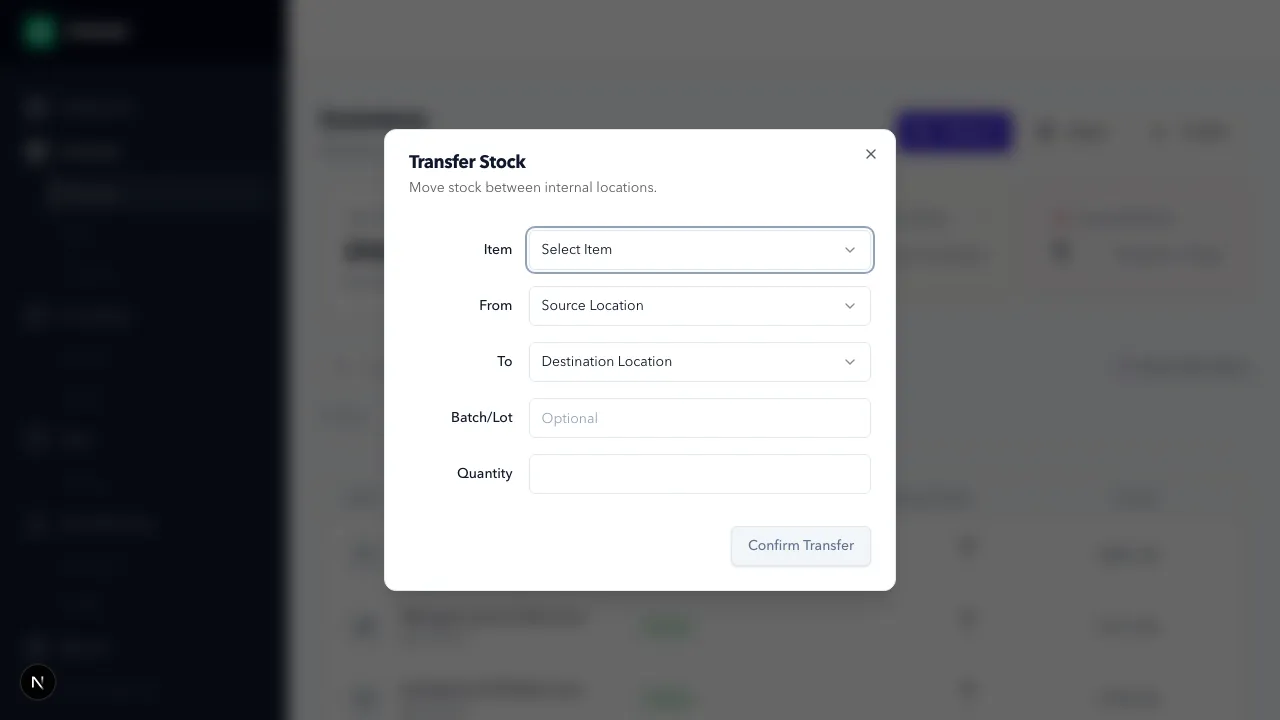
To move stock, use Transfer from inventory/item details and complete source, destination, batch, and quantity.
Expected Result in Formul
Section titled “Expected Result in Formul”- Locations are available in receiving, transfer, production, and fulfillment actions.
- Location hierarchy and attributes are visible on the locations page and reports.
Why Hierarchical Locations Exist
Section titled “Why Hierarchical Locations Exist”- Parent/child hierarchy allows one operational structure to work for both warehouse execution and reporting.
- Parent rollups let you monitor stock at a top level (for example, an entire warehouse) while still tracking bin-level detail.
- Transfers are easier to reason about when source and destination are modeled as explicit nodes in that hierarchy.
Location Types in Practice
Section titled “Location Types in Practice”| Type | Use it for | Why it matters operationally |
|---|---|---|
INTERNAL | Owned storage locations you physically manage | Primary source for day-to-day fulfillment and production decisions |
TRANSIT | In-motion stock between internal locations | Prevents mixing in-transit quantities with final putaway locations |
VENDOR | Supplier-side or external supplier context | Keeps purchase-side references separate from owned storage |
CUSTOMER | Customer-side or external customer context | Keeps outbound/return context separate from owned storage |
Nettable Toggle Behavior
Section titled “Nettable Toggle Behavior”- Nettable (Counts in Stock) is a location attribute you set in the location form and review in the location list.
- Use Nettable = off for quarantine/hold locations so teams do not treat that stock as normal available stock.
- This setting does not delete transaction history; ledger entries remain intact.
- Current runtime behavior: allocation/availability logic is not hard-blocked by this toggle alone, so teams still need operating discipline around which locations they allocate/consume from.
If Something Looks Wrong
Section titled “If Something Looks Wrong”- If location is not selectable, verify type and tenant context.
- If rollups look wrong, verify parent assignment.
- If availability decisions look wrong, verify both your nettable policy and the exact source location used in the transaction.
Next Step
Section titled “Next Step”Validate movement history in Understanding the Inventory Ledger.